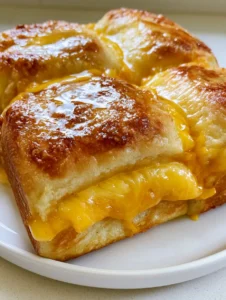
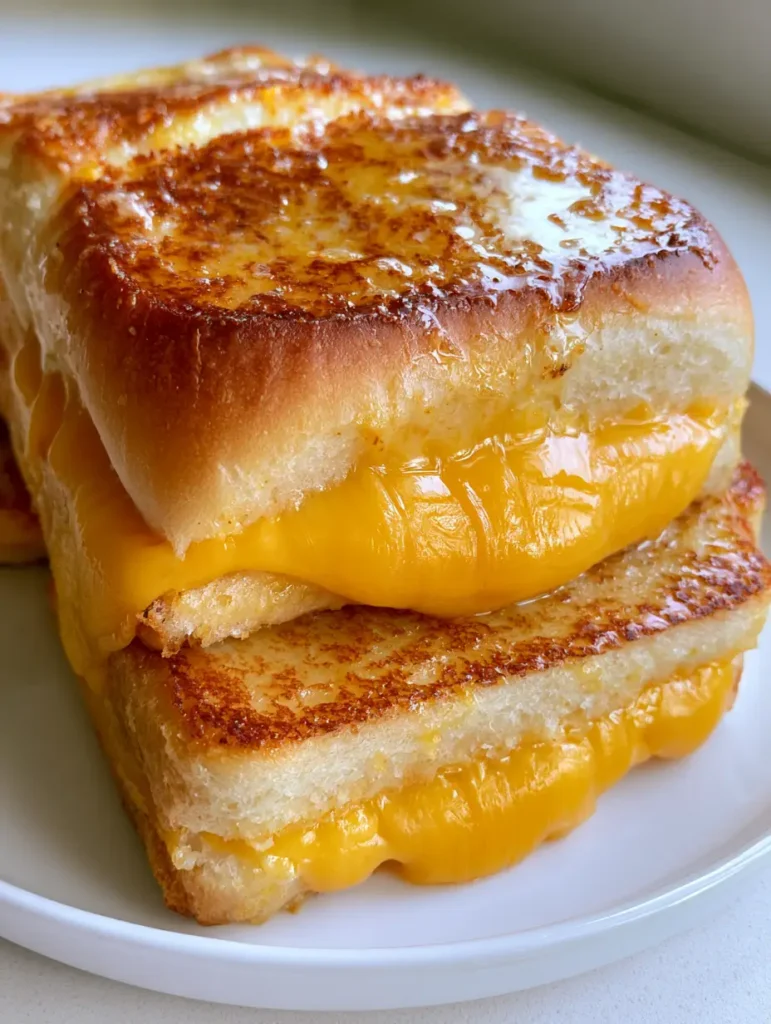
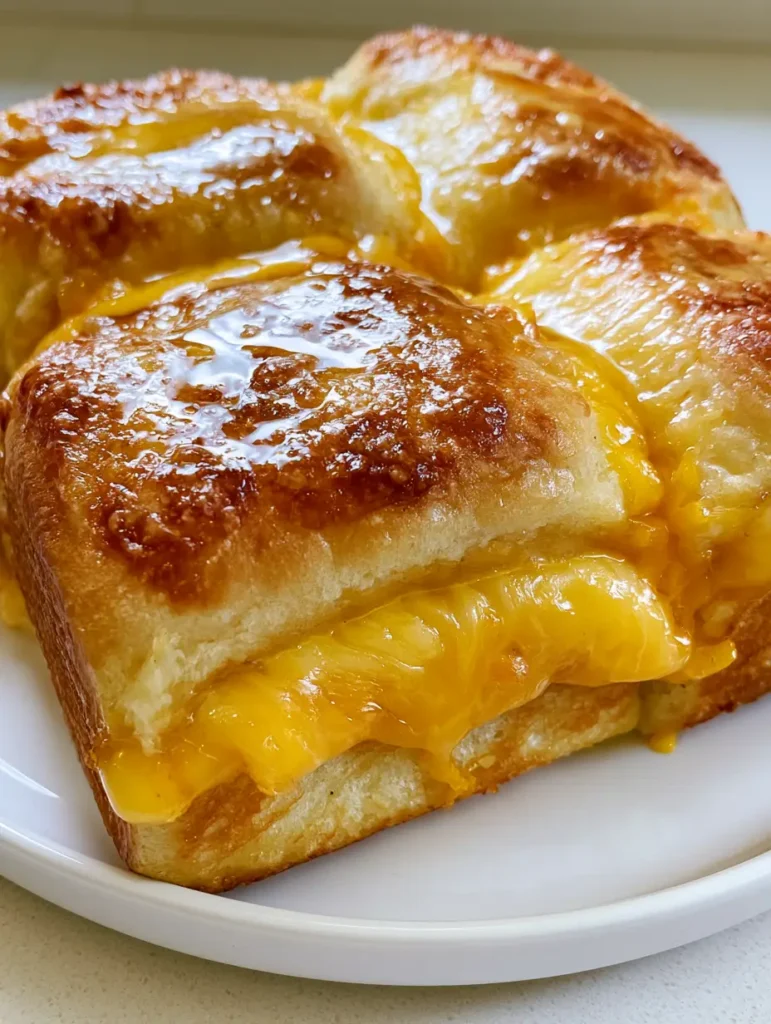
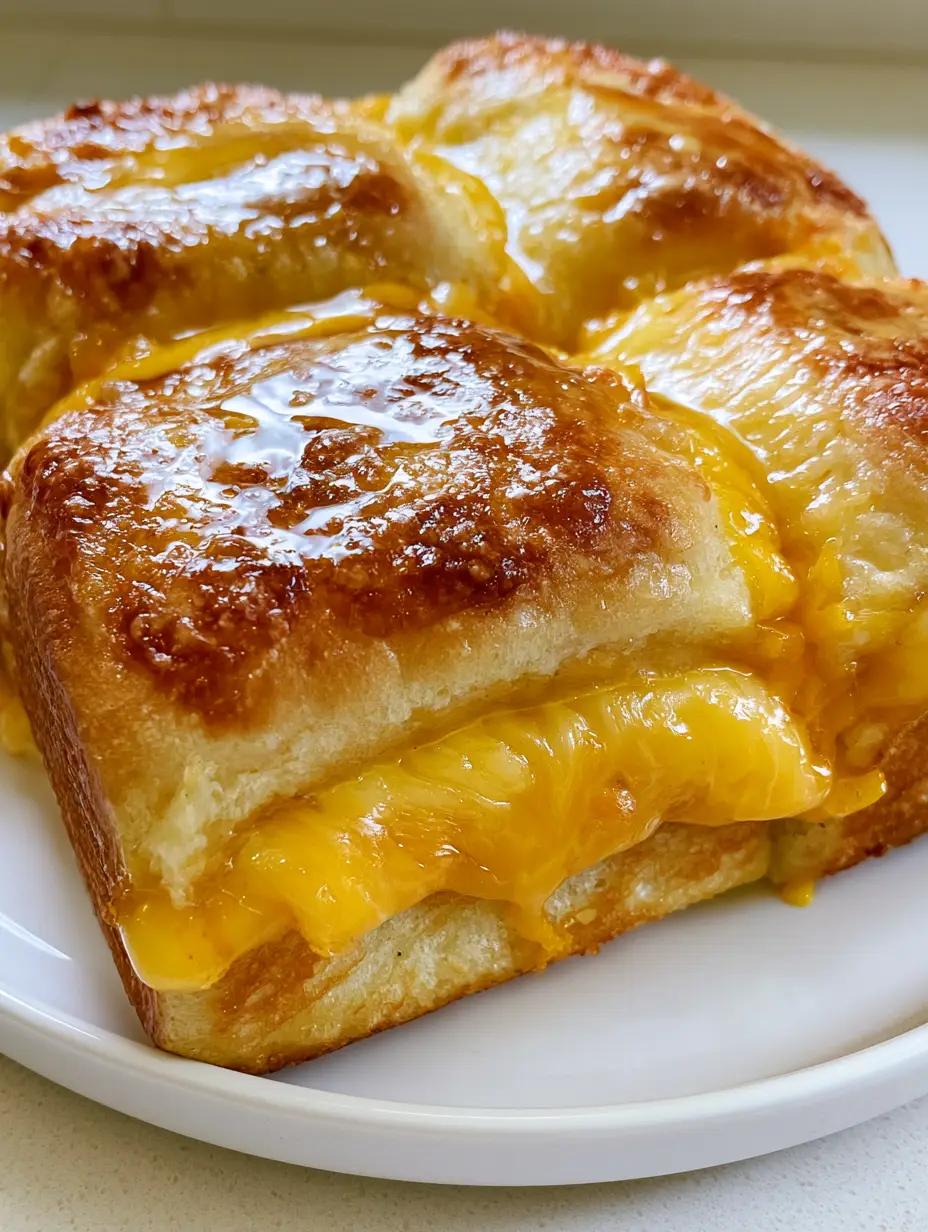
Mini Grilled Cheese Hawaiian Rolls are the viral sensation your next game day or family lunch deserves. Imagine soft, pillowy sweet rolls sliced horizontally, stuffed with a thick layer of sharp yellow cheddar, and brushed with a glistening melted butter glaze before being toasted to a perfect golden brown. This isn’t just a sandwich; it’s a sensory experience designed for maximum “cheese pull” satisfaction and effortless entertaining.
Whether you are looking for a quick 20-minute meal or a party appetizer that will disappear in seconds, these Mini Grilled Cheese Hawaiian Rolls deliver on every promise. By keeping the rolls attached during the baking process, we create a steam-trapping environment that ensures the interiors stay moist while the tops develop that signature buttery crunch. Let’s dive into why this specific method beats the traditional stovetop grilled cheese every single time.
Why You Will Crave These Pull-Apart Sliders
- Perfect Texture Contrast: You get a soft, airy interior paired with a light golden-brown toasted top that shatters slightly when you bite into it.
- Extreme Meltability: Using high-quality yellow cheddar ensures that the cheese becomes an oozing river of gold that coats every inch of the sweet bread.
- Effortless Scaling: Unlike making individual sandwiches in a pan, you can make 12 or 24 Mini Grilled Cheese Hawaiian Rolls all at once in a single baking dish.
- The Secret Glaze: A savory garlic-infused butter glaze cuts through the sweetness of the Hawaiian bread, creating a sophisticated flavor profile.
If you love these savory-sweet combinations, you might also want to check out our Hawaiian Cheesecake Salad for a dessert that carries the same tropical island vibes.
Essential Ingredients for Success
To achieve the Visual Recipe Blueprint we are aiming for, the quality of your ingredients matters. Each component plays a specific role in the final toasted masterpiece.
- 1 Package (12 count) Sweet Hawaiian Rolls: These are the base. Their high sugar content allows them to caramelize beautifully under the oven’s heat.
- 8 oz (225g) Sharp Yellow Cheddar Cheese: We recommend slicing from a block rather than using pre-shredded cheese. Slices provide a more uniform “ooze” and a richer flavor.
- 1/2 cup (115g) Unsalted Butter: This forms the base of the melted butter glaze. Using unsalted allows you to control the sodium levels perfectly.
- 1/2 tsp (2.5g) Garlic Powder: Adds a savory depth that transforms standard butter into a gourmet topping.
- 1/4 tsp (1.5g) Kosher Salt: Essential for waking up the flavors of the cheese and the sweetness of the bread.
- 1 tsp (1g) Dried Parsley: For a pop of color that looks stunning against the golden brown toasted bread tops.
For those who love a bit of protein with their cheese, these rolls pair excellently as a side to our Grilled Shrimp Bowl.
How to Make Mini Grilled Cheese Hawaiian Rolls
Follow these steps to ensure your sliders look exactly like the high-angle, professional smartphone photos seen on Pinterest. We are looking for that specific glistening glaze and crisped bread crust.
Step 1: Prep the Oven and the Rolls
Preheat your oven to 350°F (175°C). Do not pull the rolls apart yet! Use a long serrated knife to slice the entire slab of rolls in half horizontally. This creates one large “top” and one large “bottom” piece. Place the bottom half in a 9×13 inch baking dish or on a parchment-lined baking sheet.
Step 2: Layering for the Perfect Ooze
Lay your yellow cheddar cheese slices across the bottom half of the rolls. Make sure the cheese overlaps slightly. This ensures that as it melts, it creates that thick, oozing layer that spills out from the center. Place the top half of the rolls back on. Your Mini Grilled Cheese Hawaiian Rolls should now look like one giant sandwich.
Step 3: Creating the Glistening Butter Glaze
In a small microwave-safe bowl, melt the butter. Whisk in the garlic powder, salt, and dried parsley. Using a pastry brush, generously coat the tops of the rolls with the melted butter glaze. Be sure to let some of the butter drip down the sides of the rolls; this creates those crispy, buttery edges that everyone fights over.
Step 4: The Strategic Bake
Cover the rolls loosely with aluminum foil. This is a pro-tip: it allows the cheese to melt thoroughly without the tops of the rolls burning. Bake for 10 minutes. Then, remove the foil and bake for another 5-8 minutes. Watch for the golden brown toasted bread tops to appear and the bread crust to become slightly crisped and shiny.
If you’re hosting a larger party, consider serving these alongside our Chili Honey Feta Rolls for a varied bread-and-cheese spread that will have guests talking for weeks.
Expert Tips for the Best Hawaiian Roll Sliders
- Don’t Over-Bake: Hawaiian rolls have a high sugar content. They go from “perfectly golden” to “burnt” very quickly. Stay in the kitchen during those last 5 minutes!
- Use Room Temperature Cheese: Taking the chill off the cheddar before it goes into the oven helps it melt faster and more evenly.
- The “Serrated” Rule: Always use a serrated bread knife. A smooth blade will squish the soft rolls, ruining the airy texture we need for the Mini Grilled Cheese Hawaiian Rolls.
- Add a “Kick”: If you like heat, sprinkle a few red chili flakes into your butter glaze. This creates a “Hot Honey” vibe that pairs beautifully with the sweet bread.
Storage and Reheating Instructions
While Mini Grilled Cheese Hawaiian Rolls are best served immediately when the cheese is at its peak oozing state, you can store leftovers.
Storage: Place leftover sliders in an airtight container in the refrigerator for up to 3 days.
Reheating: Do not use the microwave! It will make the bread rubbery. Instead, place them in a 325°F (160°C) oven or an air fryer for 4-5 minutes until the cheese is melted again and the crust regains its crunch.
If you have extra cheese left over, it’s the perfect excuse to whip up our Three Cheese Tomato Bruschetta Dip for your next movie night.
What to Serve with Grilled Cheese Sliders
These sliders are rich and buttery, so they pair best with something bright, acidic, or crunchy. A classic tomato soup is the obvious choice, but for a more modern twist, try a crisp Caesar salad or a serving of Mexican Street Corn Salad. The lime and cilantro in the corn salad provide a perfect counterpoint to the heavy cheddar and butter.
Frequently Asked Questions
You can assemble the rolls and cheese and brush on the glaze up to 4 hours in advance. Keep them covered in the fridge, then bake just before serving for the best texture.
Because Hawaiian rolls have a high sugar content, they brown quickly. Always cover them with foil for the first 10 minutes of baking to protect the tops while the cheese melts.
Sharp yellow cheddar is the classic choice for its ‘ooze’ factor and color, but Gruyere, Fontina, or even Pepper Jack work beautifully for different flavor profiles.
This usually happens if too much butter glaze drips down or if they sit in the pan too long after baking. Remove them from the baking dish shortly after they come out of the oven.
The Full Recipe: Mini Grilled Cheese Hawaiian Rolls
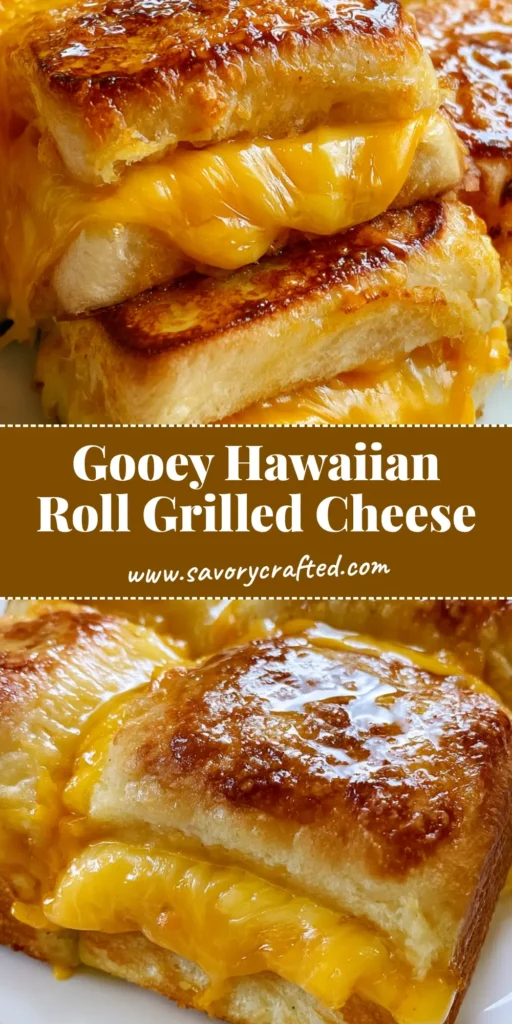
Mini Grilled Cheese Hawaiian Rolls: The Ultimate Buttery Pull-Apart Sliders
Ingredients
Equipment
Method
- Preheat oven to 350°F (175°C). Slice the entire slab of Hawaiian rolls in half horizontally. Place the bottom half in a baking dish and layer with yellow cheddar slices.
- Replace the top half of the rolls. Whisk together melted butter, garlic powder, and parsley. Brush the glistening glaze over the tops. Cover with foil and bake for 10 minutes, then remove foil and bake 5-8 more minutes until golden brown.
Notes
Keep the rolls attached while baking to maintain moisture.
Join the Savory Crafted Community!
Did these Mini Grilled Cheese Hawaiian Rolls turn out as glistening and golden as you hoped? We want to see your results! Save this recipe to your “Party Appetizers” or “Easy Lunches” board on Pinterest so you never lose it.
Be sure to follow @savorycrafted for more viral-worthy recipes. If you made these, please leave a 5-star rating in the recipe card above and drop a photo of your pull-apart sliders in the comments below. Your feedback helps our community of home cooks grow!