There is nothing more disappointing than a beautiful layer cake that collapses the moment you slice into it. When you are looking for the perfect Chocolate Mousse Cake Filling, you need more than just flavor; you need structural integrity and a cloud-like, aerated texture. This recipe delivers a professional-grade, stable filling that stands up to heavy sponge layers while maintaining those signature tiny air bubbles.
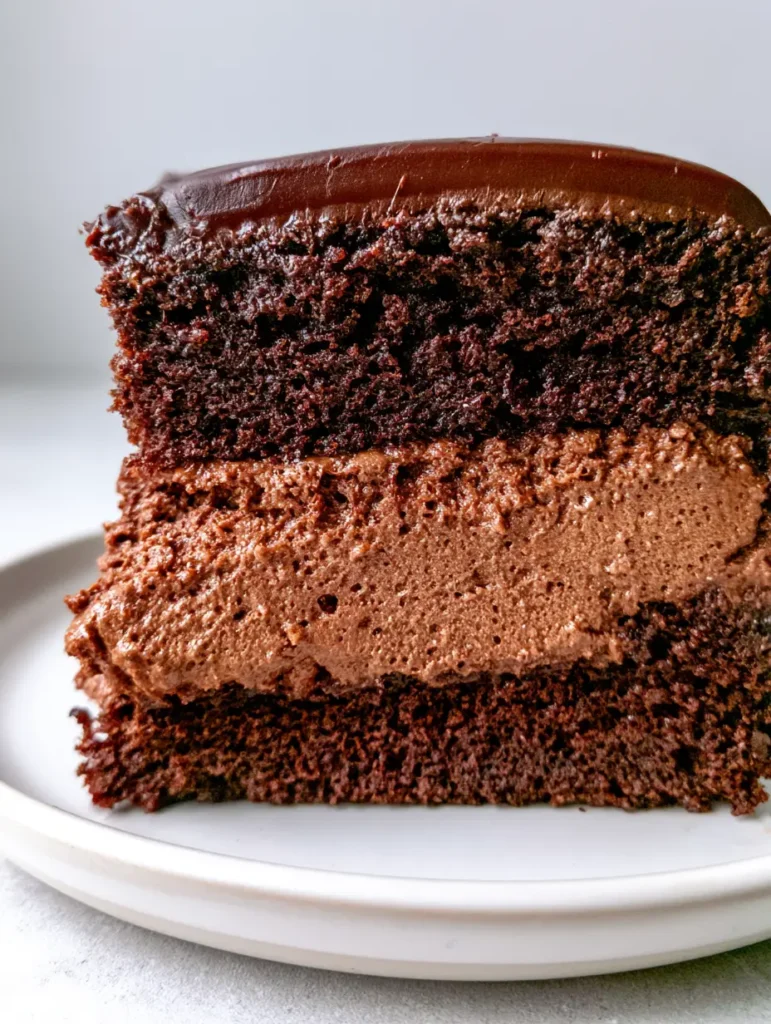
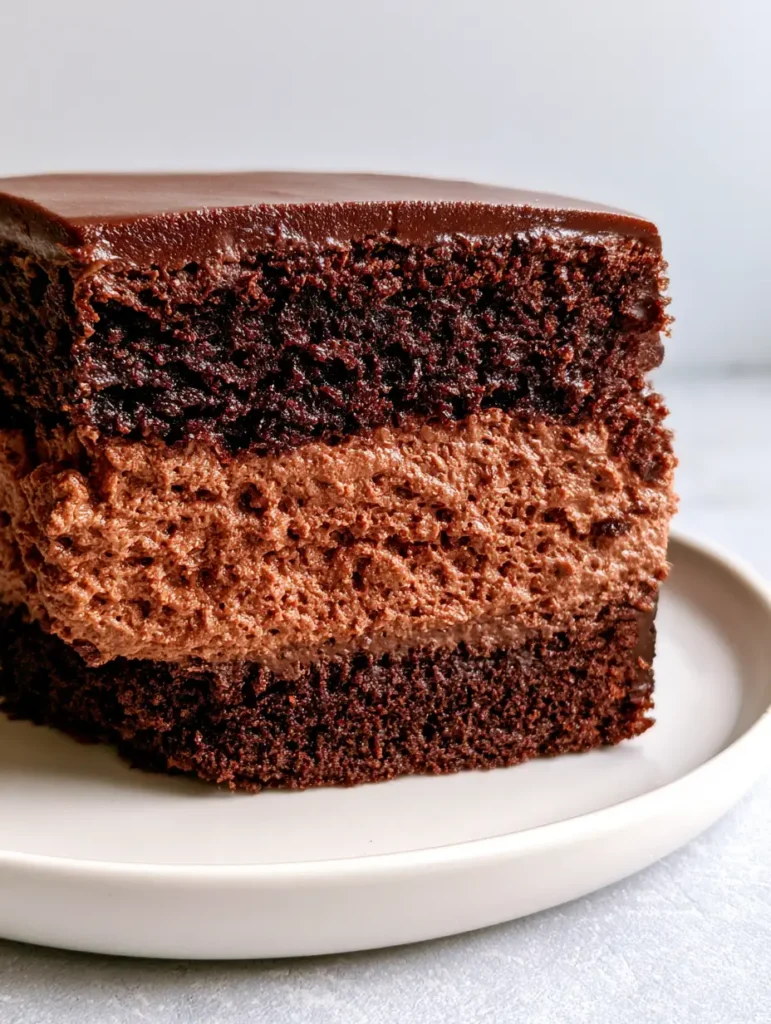
Imagine a side-view cross-section of a decadent chocolate layer cake. You see a thick, rich, medium-brown layer of whipped mousse sandwiched between moist, dark chocolate sponge cake. The texture is creamy, the finish is smooth, and the stability is unmatched. Whether you are building a towering masterpiece or a simple weekend treat, this is the definitive guide to mastering the art of the Chocolate Mousse Cake Filling.
Why This Is The Best Chocolate Mousse Cake Filling You Will Ever Make
- Unbeatable Stability: Unlike standard mousse, this version is specifically engineered to hold the weight of cake layers without oozing out the sides.
- Aerated Texture: We focus on a specific aerated cream base that ensures every bite is light, fluffy, and full of tiny, melt-on-your-tongue air bubbles.
- Professional Finish: It provides a clean, sharp line when sliced, looking exactly like a high-end bakery cross-section.
- Rich Chocolate Profile: By combining high-quality melted dark chocolate with a touch of cocoa powder, we achieve a deep, complex flavor that isn’t overly sweet.
If you enjoy experimenting with different textures in your baking, you might also love our high-protein chocolate mousse for a lighter daily snack. However, when it comes to cake assembly, stability is king.
Essential Ingredients for a Stable Mousse Base
Dark Chocolate (60-70% Cacao): The foundation of the flavor. Using real chocolate instead of just cocoa powder provides the cocoa butter necessary for the filling to set firmly at room temperature.
Heavy Whipping Cream (36% Fat): We use a dual-approach with the cream. Part is heated to create a ganache, and the rest is whipped into an aerated cream base to provide volume.
Granulated Sugar: Just enough to balance the bitterness of the dark chocolate without masking the roasted cocoa notes.
Unsweetened Cocoa Powder: Adding a small amount of cocoa powder intensifies the “medium-brown” color and adds a structural thickness to the mousse.
Pure Vanilla Extract and Salt: These act as flavor enhancers, brightening the chocolate and rounding out the sweetness.
Optional Gelatin: For cakes that will sit out for several hours at a party, a tiny amount of bloomed gelatin ensures the Chocolate Mousse Cake Filling remains rock-solid.
Step-by-Step: Crafting the Perfect Aerated Filling
1. Creating the Chocolate Ganache Foundation
Start by finely chopping 8 oz (225g) of dark chocolate. Place it in a heat-proof bowl. Heat 1/2 cup (120ml) of heavy cream until it just begins to simmer, then pour it over the chocolate. Let it sit for 2 minutes before stirring into a glossy, smooth glaze.
This ganache provides the intense flavor and the fats required for stability. Allow this mixture to cool to room temperature. If it is too hot, it will deflate your aerated cream base; if it is too cold, it will create lumps.
2. Preparing the Aerated Cream Base
In a chilled bowl, combine the remaining 1.5 cups (360ml) of heavy cream with the sugar and vanilla. Whip the cream on medium-high speed. You are looking for medium-stiff peaks.
Visual Cue: The cream should hold its shape when the whisk is lifted, but the tip of the peak should slightly curl over. Over-whipping will turn the mousse grainy, so watch the texture closely.
3. The Folding Technique for Maximum Air Bubbles
Gently whisk a small scoop of the whipped cream into the cooled chocolate ganache to lighten it. Then, using a large rubber spatula, fold the remaining cream into the chocolate in three additions.
Use a “cut and fold” motion. Cut through the center, scrape the bottom, and fold over. This preserves the tiny air bubbles that create the decadent, creamy texture visible in a professional cross-section.
This technique is similar to how we handle delicate batters, much like in our neapolitan cake recipe where distinct textures are vital for the final look.
Expert Tips for a Professional Cross-Section
- Chill Your Tools: Always chill your whisk and mixing bowl for at least 15 minutes before whipping the cream. This ensures the fat globules stay stable, leading to a better Chocolate Mousse Cake Filling.
- Temperature Matching: Ensure your chocolate base is between 85°F and 90°F (29°C – 32°C) before folding. This is the “Goldilocks” zone for perfect integration.
- The Crumb Coat: Before applying the mousse, ensure your dark chocolate sponge cake is completely cool. A warm cake will melt the mousse instantly.
- Use a Piping Bag: For the most even layer, pipe the mousse onto the cake layer starting from the outside edge and spiraling inward. This prevents air pockets from forming between the cake and filling.
If you’re looking for other unique dessert fillings or toppings, you might find inspiration in our key lime bundt cake for a citrusy contrast to all this chocolate.
Storage and Make-Ahead Instructions
Refrigeration: The Chocolate Mousse Cake Filling must be kept refrigerated. Once the cake is assembled, it should chill for at least 4 hours before serving to allow the mousse to fully set.
Freezing: You can freeze a cake filled with this mousse! Wrap it tightly in plastic wrap and foil. Thaw in the refrigerator overnight before serving. Do not thaw at room temperature, or the condensation may ruin the chocolate ganache glaze.
How to Serve Your Chocolate Masterpiece
For the most “Pinterest-worthy” presentation, serve a side-view cross-section slice on a minimalist white ceramic plate. The neutral background allows the rich browns and the texture of the aerated cream base to shine.
Pair a slice of this cake with a hot cup of espresso or a glass of cold milk. If you’re hosting a brunch, this cake makes a stunning centerpiece alongside our pistachio chocolate croissants.
Frequently Asked Questions
Yes, but milk chocolate is softer due to higher sugar and milk solids. You may need to reduce the amount of cream in the ganache base by 25% to maintain the same level of stability.
No, this is a true whipped mousse. It will set firmly in the fridge but remains soft and creamy to the touch, unlike a crusting buttercream.
The key is using real dark chocolate (which contains cocoa butter) rather than just cocoa powder, and ensuring you whip your cream to medium-stiff peaks before folding. For extra insurance in warm weather, add 1 teaspoon of bloomed gelatin to the warm ganache base.
Because it contains high amounts of dairy, a cake with Chocolate Mousse Cake Filling should not sit at room temperature for more than 2 hours. Always keep it refrigerated until shortly before serving.
Graininess usually happens if you over-whip the heavy cream or if the melted chocolate was too cold when you folded in the cream, causing the chocolate to seize into tiny bits.
The Ultimate Chocolate Mousse Cake Filling Recipe
Ready to create the most stable, aerated, and delicious filling of your life? Follow the measurements below for a perfect result every time.
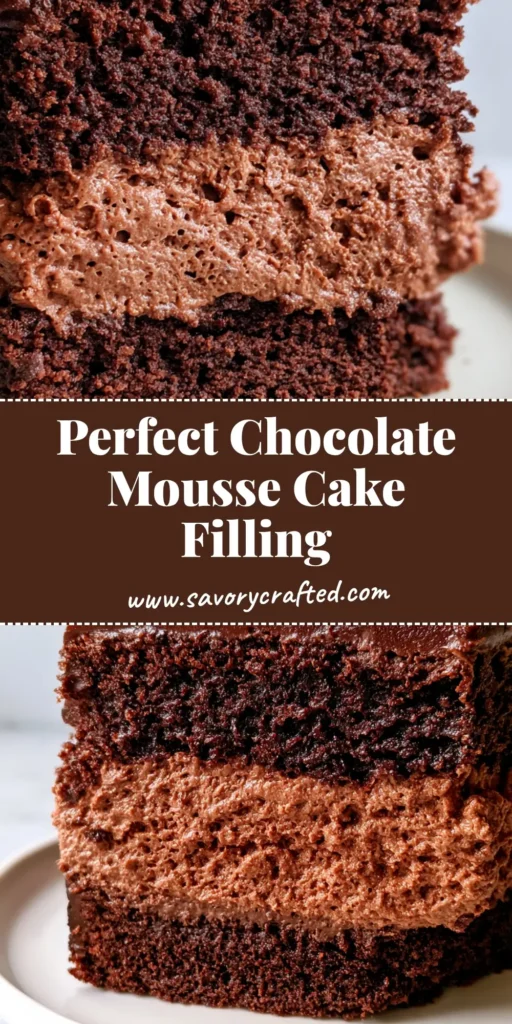
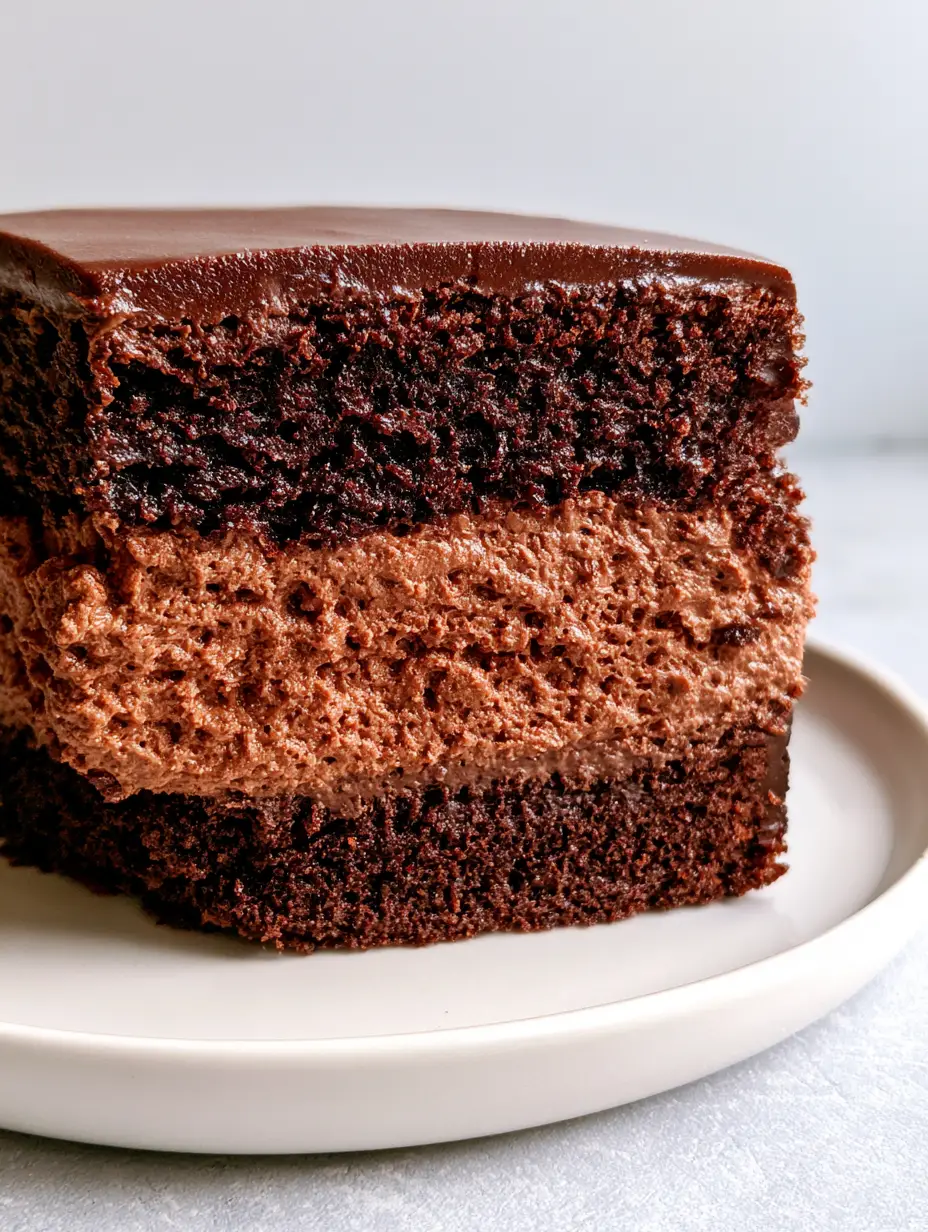
Chocolate Mousse Cake Filling: The Secret to a Stable, Decadent Layer Cake
Ingredients
Equipment
Method
- Place chopped chocolate in a bowl. Heat 1/2 cup (120ml) of cream until simmering, pour over chocolate, and stir until smooth.
- Stir in cocoa powder, salt, and vanilla. Let the mixture cool to room temperature (approx 85°F/29°C).
- In a chilled bowl, whip the remaining 1.5 cups (360ml) of cream and sugar until medium-stiff peaks form.
- Fold a small amount of whipped cream into the chocolate to lighten it.
- Gently fold in the remaining cream using a spatula until no white streaks remain, maintaining the tiny air bubbles.
Notes
Chill the assembled cake for at least 4 hours before slicing for the cleanest look.
Share Your Creations!
Did you master the perfect Chocolate Mousse Cake Filling? We want to see your beautiful cake cross-sections! Save this recipe to your “Baking Goals” board on Pinterest and follow savorycrafted for more elite dessert tutorials.
Leave a comment below with a photo of your cake and give this recipe a 5-star rating if it helped you achieve that perfect professional look. Happy baking!