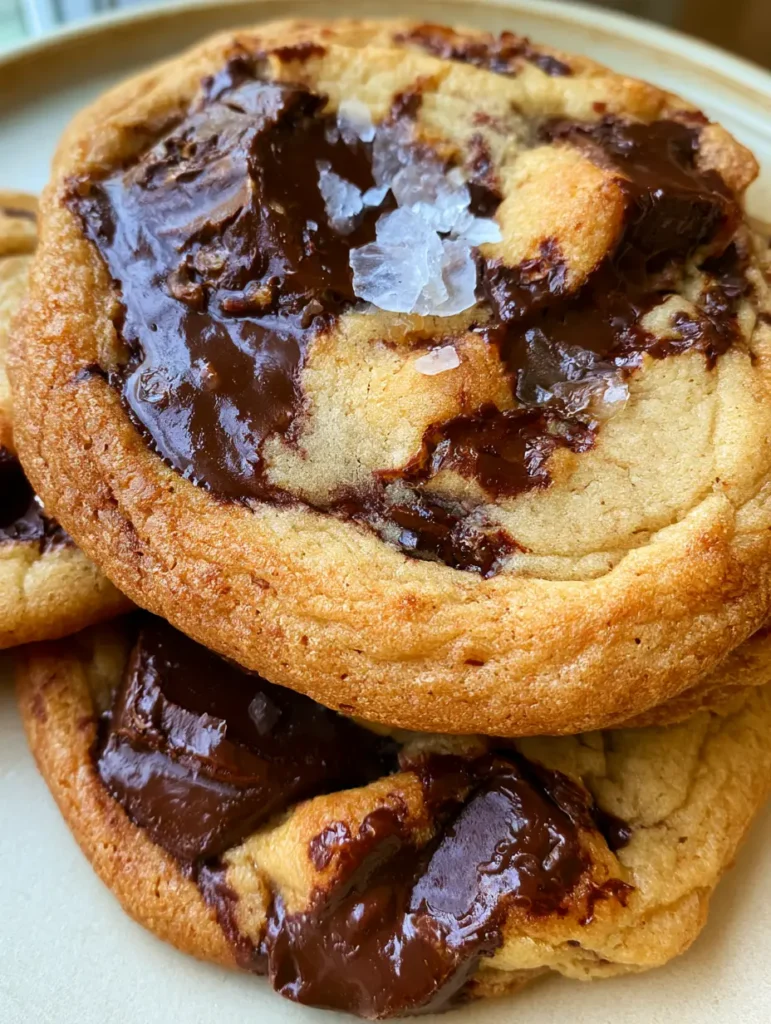
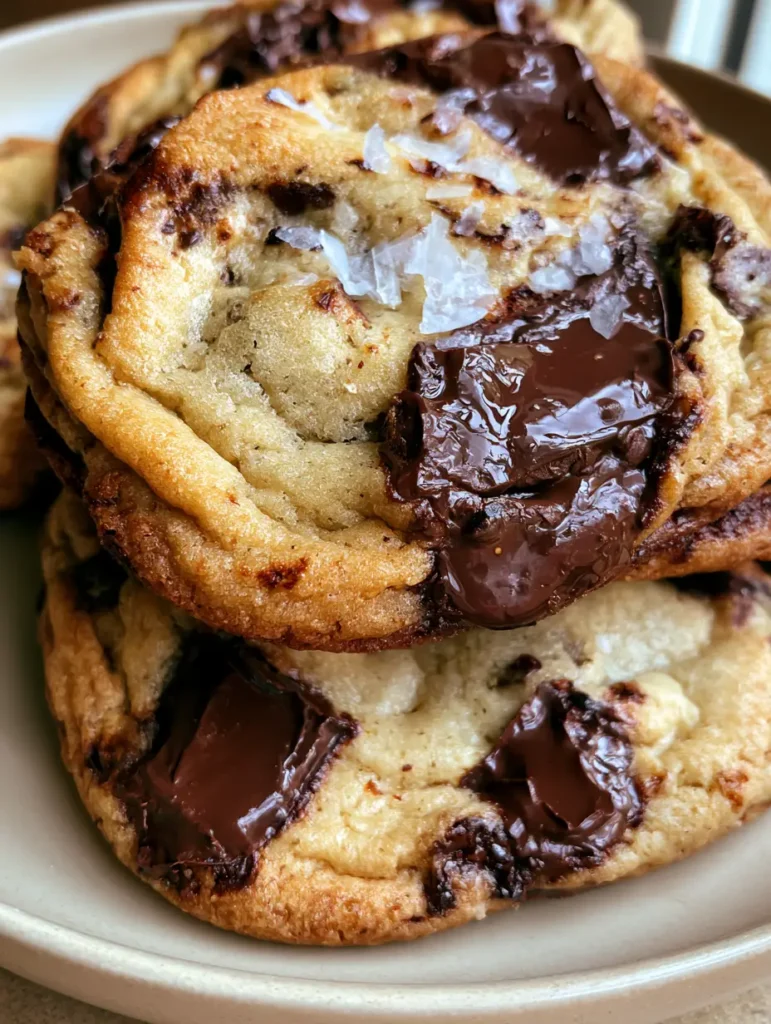
Brown Butter Chocolate Chip Cookies are the undisputed royalty of the baking world, offering a depth of flavor that a standard cookie simply cannot reach. If you are looking for that perfect handheld stack of thick, golden-brown cookies with rippled, crinkled surfaces and toasted, crispy edges, you have found the ultimate recipe. These cookies feature soft, pale tan centers and are loaded with irregular chunks of dark semi-sweet chocolate that form glossy, melted puddles on the surface. Finished with a delicate sprinkling of translucent flaky sea salt, they are a sensory masterpiece.
Why These Are the Best Brown Butter Chocolate Chip Cookies You’ll Ever Bake
- The Nutty Aroma: By browning the butter, we unlock a toasted, caramel-like scent that permeates the entire cookie.
- Visual Texture: Expect a stunning rippled, crinkled surface with crispy, golden-brown edges that look professional.
- Chocolate Puddles: We use a combination of chips and hand-chopped dark chocolate chunks to create those iconic glossy melted pools.
- Perfect Balance: The addition of flaky sea salt cuts through the richness of the dark chocolate and brown sugar.
If you enjoy experimenting with unique flavor profiles in your baking, you might also want to try these Strawberry Matcha Cookies or perhaps these chewy Banana Bread Cookies for your next weekend project.
The Essential Ingredients for Gourmet Brown Butter Cookies
Creating a bakery-style cookie at home requires high-quality ingredients and a basic understanding of culinary science. Every component in this Brown Butter Chocolate Chip Cookies recipe serves a specific structural and flavor purpose.
Unsalted Butter: 1 cup (226g). We use unsalted to strictly control the sodium levels, allowing the flaky sea salt topping to shine. The browning process removes water content and toasts the milk solids.
Dark Semi-Sweet Chocolate Chunks: 6 oz (170g). Chopping a bar by hand creates irregular shards that melt into those glossy chocolate puddles mentioned in our visual blueprint.
Semi-Sweet Chocolate Chips: 1/2 cup (90g). These hold their shape better than chunks, providing a consistent texture throughout the soft-baked center.
Granulated Sugar & Dark Brown Sugar: 1/2 cup (100g) white and 1 cup (200g) brown. The high molasses content in dark brown sugar is vital for the soft, pale tan centers and chewy texture.
All-Purpose Flour: 2 & 1/4 cups (280g). This provides the necessary structure to prevent the cookies from spreading too thin into flat discs.
Flaky Sea Salt: For the finishing touch. These translucent crystals provide a crunch and a burst of flavor that elevates the dark chocolate.
The Science of Browning Butter (Beurre Noisette)
The foundation of Brown Butter Chocolate Chip Cookies is the butter itself. When you heat butter, the water evaporates, and the milk solids begin to toast. This is known as the Maillard reaction.
You must watch the pan closely. Once the butter begins to foam and you see little brown specks at the bottom, remove it from the heat immediately. The residual heat will continue to cook the solids, and you don’t want them to burn.
For more decadent treats using high-quality fats, check out this Roasted Garlic Cowboy Butter which uses similar principles of flavor extraction.
Step 1: Achieving the Perfect Golden-Brown Butter
Place your 1 cup (226g) of butter in a light-colored skillet over medium heat. Using a light-colored pan allows you to see the color change clearly so you don’t over-toast the solids.
Whisk constantly as the butter melts, pops, and foams. Once you smell a nutty aroma and see toasted golden-brown bits at the bottom, pour the liquid gold into a heat-proof bowl. Ensure you scrape every single brown speck out of the pan—that is where the flavor lives!
Step 2: Mixing the Rippled Cookie Dough
Allow the brown butter to cool for at least 15 minutes. If it is too hot, it will melt the sugars and cook the eggs prematurely, ruining the soft-baked cookie centers.
Whisk in your sugars until the mixture looks like wet sand. Add 2 large eggs and 2 teaspoons (10ml) of vanilla extract. Whisk vigorously for 2-3 minutes until the mixture lightens in color; this incorporates air, contributing to the rippled, crinkled surface.
Step 3: Folding in the Dark Chocolate Puddles
Sift in your dry ingredients: the flour, 1 teaspoon (5g) baking soda, and 1/2 teaspoon (3g) fine sea salt. Use a spatula to fold until just combined. Over-mixing will lead to tough cookies rather than the soft, pale tan centers we desire.
Fold in your 6 oz (170g) of dark chocolate chunks and 1/2 cup (90g) of semi-sweet chips. The irregular chunks are the secret to the glossy, melted chocolate puddles seen in our visual blueprint.
If you love chocolate as much as we do, you might want to explore this Chocolate Mousse Cake Filling for your next layer cake.
Mastering the Visual Cues: Ripples, Crinkles, and Edges
To achieve the thick, golden-brown cookies shown in the handheld smartphone photo, you must chill the dough. Chilling for at least 2 hours (or overnight) allows the flour to hydrate and the fats to solidify.
When you bake the cookies at 350°F (175°C), the cold fat takes longer to melt. This creates the toasted, crispy edges while the center remains underbaked and soft. The “pan-banging” technique—tapping the tray against the oven rack halfway through—helps create those rippled, crinkled surfaces.
Expert Tips for Pinterest-Perfect Cookies
- Don’t Skip the Chill: Cold dough equals thick cookies. Warm dough equals flat puddles.
- Size Matters: Use a large 3-tablespoon (45ml) scoop. Larger cookies have a better ratio of crispy edges to soft centers.
- The Salt Timing: Add the flaky sea salt crystals immediately after the cookies come out of the oven so they stick to the melted chocolate.
- Extra Chunks: Press a few extra dark chocolate chunks onto the top of the dough balls before baking for maximum visual impact.
Storage, Reheating, and Freezing Instructions
To maintain the soft-baked cookie centers, store these in an airtight container at room temperature for up to 4 days. Including a slice of white bread in the container will keep them moist.
You can freeze the pre-portioned dough balls for up to 3 months. Bake them directly from the freezer, adding 2 minutes to the total bake time. This ensures you always have Brown Butter Chocolate Chip Cookies ready for guests.
What to Serve With These Indulgent Cookies
These cookies are incredibly rich. Pair them with a cold glass of whole milk or a bitter espresso to balance the sweetness. If you’re hosting a brunch, these cookies make a great dessert after a savory meal like Garlic Butter Shrimp Scampi.
Frequently Asked Questions
Yes, but dark brown sugar contains more molasses, which results in a deeper color, a more complex flavor, and a softer, chewier texture in the center of the cookie.
Use hand-chopped dark chocolate chunks instead of just chips. The irregular sizes melt differently, and pressing a few extra chunks onto the dough before baking ensures glossy puddles.
Tapping the baking sheet against the oven rack causes the cookies to collapse slightly as they rise, creating the beautiful rippled, crinkled edges and a denser, chewier center.
Browning the butter (beurre noisette) evaporates the water and toasts the milk solids, creating a deep, nutty, and caramel-like flavor that regular butter cannot provide.
Brown butter is liquid when warm. You must chill the dough for at least 2 hours to allow the fats to solidify, which prevents the cookies from spreading too thin.
The Ultimate Brown Butter Chocolate Chip Cookie Recipe
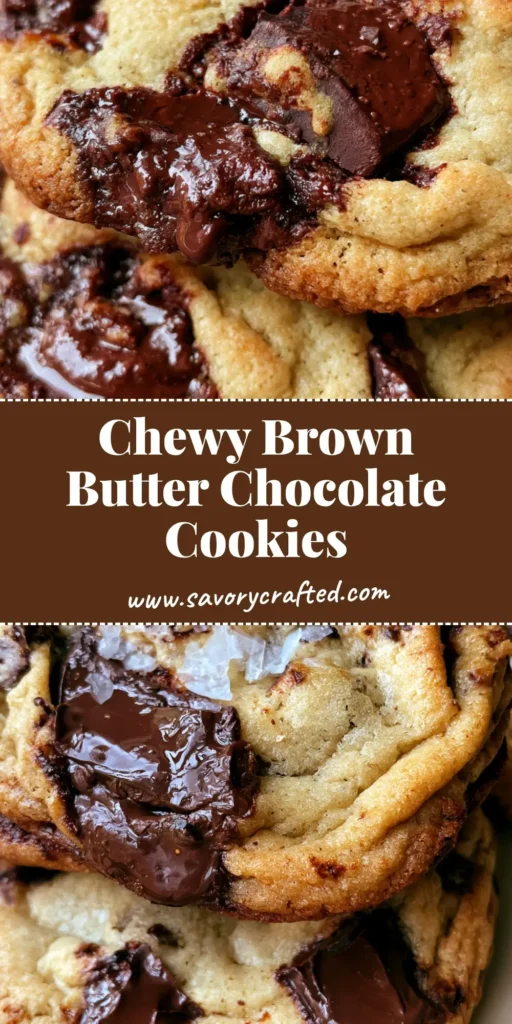
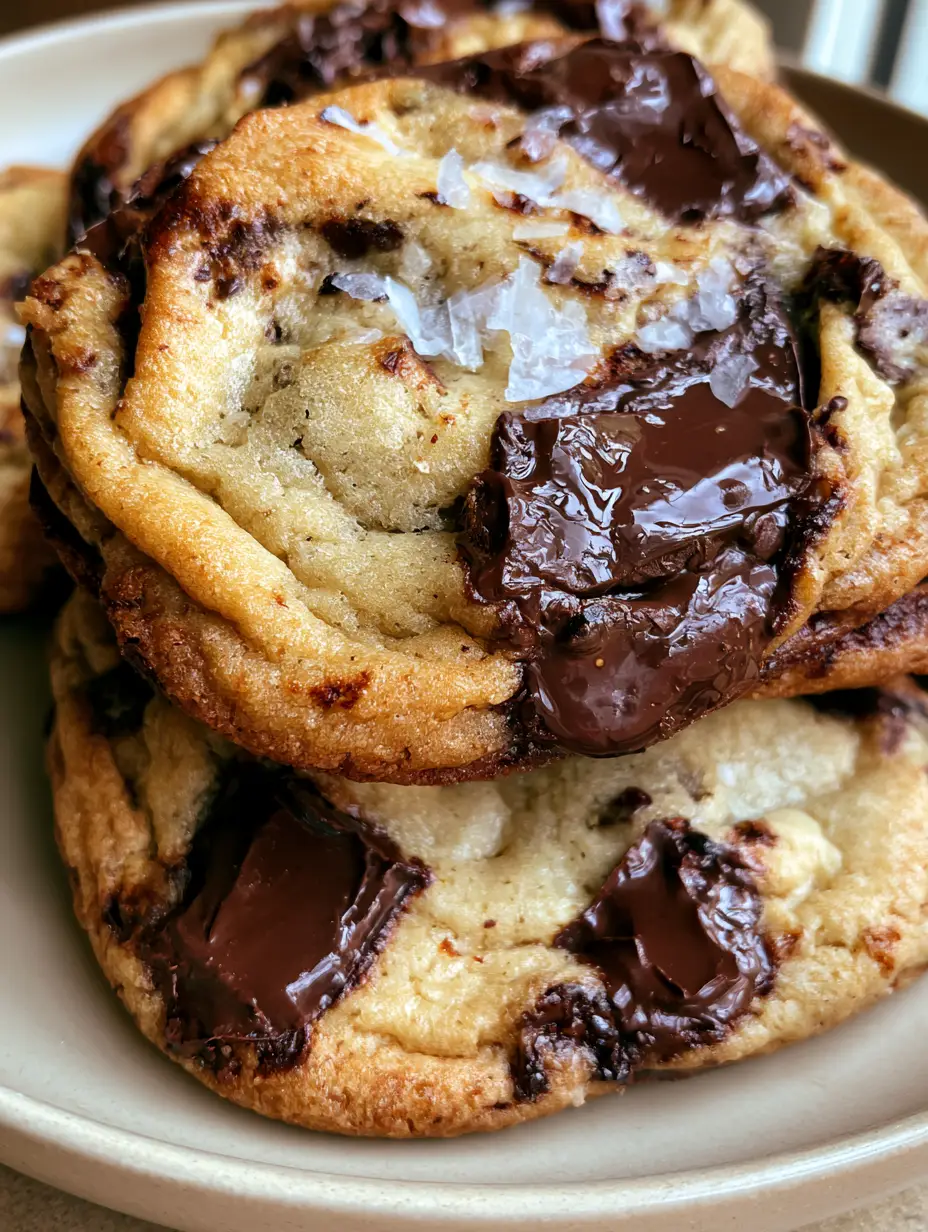
Brown Butter Chocolate Chip Cookies with Dark Chocolate Chunks and Sea Salt
Ingredients
Equipment
Method
- Melt butter in a skillet over medium heat, whisking until it foams and toasted golden-brown bits appear at the bottom. Pour into a bowl and cool for 15 minutes.
- Whisk browned butter with brown and white sugars. Add eggs and vanilla, whisking until pale and fluffy.
- Gently fold in flour, baking soda, and salt. Add chocolate chunks and chips. Chill dough for at least 2 hours.
- Scoop 3-tbsp balls onto a lined sheet. Bake at 350°F (175°C) for 10-12 minutes until edges are golden-brown and centers are soft. Top with flaky sea salt.
Notes
Use high-quality chocolate bars for the best melting 'puddles'.
Join the SavoryCrafted Community!
Did you manage to get those glossy, melted chocolate puddles just right? We want to see your results! Save this recipe to your “Baking Dreams” board on Pinterest and follow @savorycrafted for more elite recipes.
Please leave a 5-star rating in the recipe card above and drop a photo of your cookies in the comments below. Happy baking!