If you have ever dreamed of the perfect Italian pastry but dreaded the mess of deep-frying cannoli shells, these Ricotta Cannoli Squares are your new best friend. This recipe transforms the iconic flavors of a Sicilian bakery into a sophisticated, sliceable dessert that features a golden-brown baked flaky pastry and a creamy ricotta cheese filling. Whether you are hosting a Sunday dinner or looking for a viral-worthy Pinterest dessert, these squares deliver on every level.
The magic of Ricotta Cannoli Squares lies in the contrast of textures. You get that signature “shatter” from the crisp pastry layers, followed immediately by the dense, velvety richness of the mini semi-sweet chocolate chips folded into sweet cream. It is a visual and sensory masterpiece that looks exactly like a high-end bakery find, especially when finished with a heavy, even dusting of fine white powdered sugar.
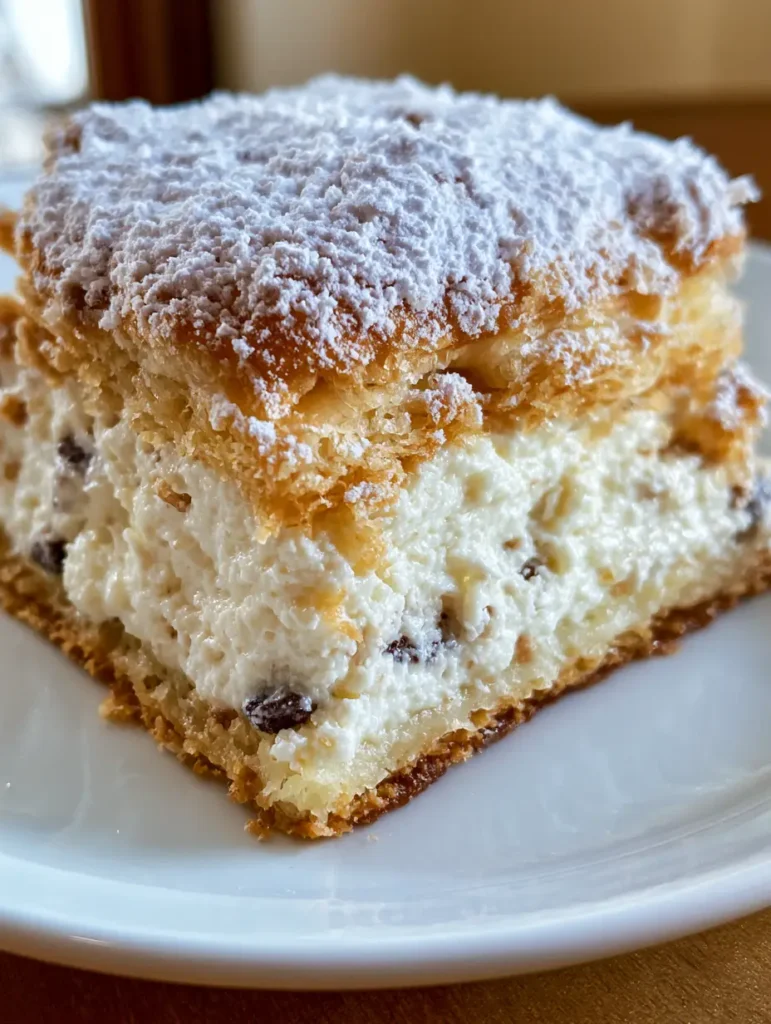
Why These Ricotta Cannoli Squares Will Be Your New Favorite
- Unbeatable Texture: We use a double-layered puff pastry technique to ensure a crisp, flaky golden-brown pastry crust that stays crunchy even under the cream.
- Perfectly Balanced Filling: The thick, dense filling of smooth white ricotta cream is stabilized naturally, so your squares hold their shape perfectly when sliced.
- Pinterest-Ready Visuals: With the mini semi-sweet chocolate chips speckling the white cream, these squares are a photographer’s dream.
- Simplified Elegance: You get 100% of the authentic cannoli flavor with about 20% of the traditional labor.
The Science of the Ingredients
To achieve the forensic visual accuracy required for these Ricotta Cannoli Squares, every ingredient serves a structural and flavor purpose. Using the right components ensures your dessert doesn’t just taste good—it looks professional.
1. Puff Pastry (2 sheets / 480g): This provides the foundation of a thin, golden-brown baked pastry base. High-quality butter-based puff pastry is essential for those visible, airy layers.
2. Whole Milk Ricotta (15 oz / 425g): You must use full-fat ricotta for the thick, dense filling. Low-fat versions contain too much water and will make your pastry soggy. If you love working with this cheese, you might also enjoy our chicken ricotta meatballs for a savory twist.
3. Mascarpone Cheese (8 oz / 225g): While not in a traditional shell, adding mascarpone to these squares ensures the smooth white ricotta cream has the structural integrity to be sliced into perfect rectangles.
4. Powdered Sugar (3/4 cup / 90g): This sweetens the cream without adding grit. You will also need extra for that heavy, even dusting on top.
5. Mini Semi-Sweet Chocolate Chips (1/2 cup / 90g): The “mini” size is critical. They provide the speckled dark chocolate look without overwhelming the delicate texture of the pastry.
6. Pure Vanilla Extract & Orange Zest: These provide the aromatic backbone of the authentic cannoli flavor profile. If you’re a fan of citrus-infused desserts, check out our peach cobbler cheesecake donuts.
Achieving the Perfect Golden Pastry Base
The secret to Ricotta Cannoli Squares is ensuring the pastry is cooked through and crisp without puffing up so much that it becomes unmanageable. We achieve this by “blind baking” the pastry under a second baking sheet to keep it compressed and flaky.
First, preheat your oven to 400°F (200°C). Roll out your thawed puff pastry sheets on a lightly floured surface. You want them to be even and thin. Place them on parchment-lined baking sheets.
The “Pro Move” for Ricotta Cannoli Squares: Place another piece of parchment over the pastry, then set a second baking sheet directly on top. This weight ensures the pastry remains a thin, golden-brown baked pastry base rather than a giant pillow. Bake for 15-18 minutes until deeply golden.
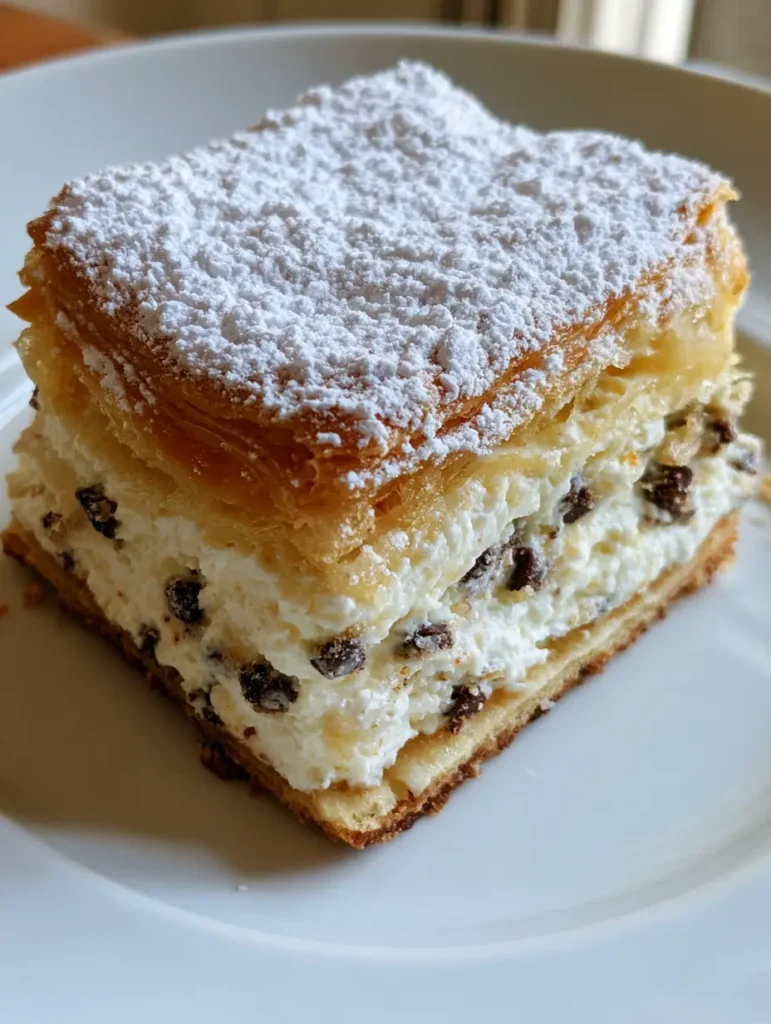
Creating the Smooth White Ricotta Cream
To get that thick, dense filling shown in the visual recipe blueprint, you must strain your ricotta. Even “thick” store-bought ricotta has excess whey. Place your ricotta in a fine-mesh sieve over a bowl for at least 2 hours (or overnight) in the fridge.
Once strained, whip the ricotta with the mascarpone, powdered sugar, and vanilla until it is smooth white ricotta cream. Do not over-mix, or the mascarpone may break and become grainy. Gently fold in those small dark chocolate chips by hand to ensure they are evenly speckled throughout.
If you find yourself with extra puff pastry after this step, you can use it for something savory like our ham and cheese puff pastry squares for lunch the next day.
Step-by-Step Assembly for Maximum Visual Impact
Step 1: The Foundation
Place one of your cooled, baked flaky pastry sheets on a clean cutting board. This will be the base of your Ricotta Cannoli Squares. Ensure it is completely cool to the touch before adding the cream; any residual heat will melt the filling.
Step 2: The Cream Layer
Spread the thick, dense filling evenly over the base. Use an offset spatula to ensure the cream reaches all the way to the edges. You want a consistent thickness of about 1 inch (2.5cm). This creates the striking “middle layer” look.
Step 3: The Top Crust
Carefully place the second sheet of crisp, flaky golden-brown pastry on top of the cream. Press down very gently to “set” the pastry into the cream without squishing the filling out the sides.
Step 4: The Big Chill
This is the hardest part: patience. Refrigerate the entire slab for at least 4 hours. This allows the filling to set firmly, making the final slicing process much cleaner. This step is what separates a messy dessert from professional-grade Ricotta Cannoli Squares.
Step 5: The Final Flourish
Just before serving, use a fine-mesh sieve to apply a heavy, even dusting of fine white powdered sugar. This should look like a fresh blanket of snow, completely obscuring the top pastry layer. Slice into 12-16 rectangular squares using a sharp serrated knife.
Expert Tips for Success
- Use a Serrated Knife: To slice through the crisp, flaky golden-brown pastry crust without crushing the filling, use a sawing motion with a bread knife.
- Drain the Ricotta: I cannot stress this enough. If you skip straining, your filling will be runny and the Ricotta Cannoli Squares will lose their shape.
- Add Texture: If you want to deviate slightly from the blueprint, a handful of crushed pistachios on the edges adds a beautiful pop of green.
- Keep it Cold: Serve these squares straight from the fridge. The colder they are, the more refreshing the creamy ricotta cheese filling feels.
Storage & Freezing Instructions
Ricotta Cannoli Squares are best enjoyed within 24 hours of assembly to maintain the maximum crunch of the pastry. However, leftovers can be stored in an airtight container in the refrigerator for up to 3 days.
We do not recommend freezing the fully assembled squares, as the ricotta filling can change texture upon thawing, and the pastry will lose its flakiness. If you have extra filling, it makes a great dip for fruit or can be used in our neapolitan cake recipe as a layer substitute!
What to Serve With This
These Ricotta Cannoli Squares are quite rich, so they pair beautifully with a sharp espresso or a bitter Italian digestif. If you are serving them as part of a larger dessert spread, consider contrasting them with something fruity, like a fresh berry salad.
For a full Italian-inspired evening, start with our street corn salad (for a fusion twist) or stay classic with a light pasta dish. These squares are the perfect “grand finale” for any meal.
Frequently Asked Questions
While you can, mini semi-sweet chocolate chips are preferred as they distribute more evenly throughout the dense ricotta filling and offer a better texture.
You can prepare the pastry and filling separately 24 hours in advance. For the best texture, assemble and chill for 4-6 hours before serving.
Mascarpone adds stability and a velvety texture that helps the squares hold their shape. If you omit it, ensure your ricotta is strained very well, or the filling may be too soft.
The key is to strain your ricotta cheese through a fine-mesh sieve for at least 2 hours to remove excess moisture and ensure the pastry is completely cool before assembly.
To keep the pastry thin and flaky, you must bake it with a second baking sheet weighted on top. This prevents it from puffing into a large, uneven dome.
The Complete Ricotta Cannoli Squares Recipe
Ready to bring the flavors of Italy into your kitchen? This recipe yields perfectly portioned, bakery-style squares that will have everyone asking for the recipe. Don’t forget to save this to your “Italian Desserts” board on Pinterest!
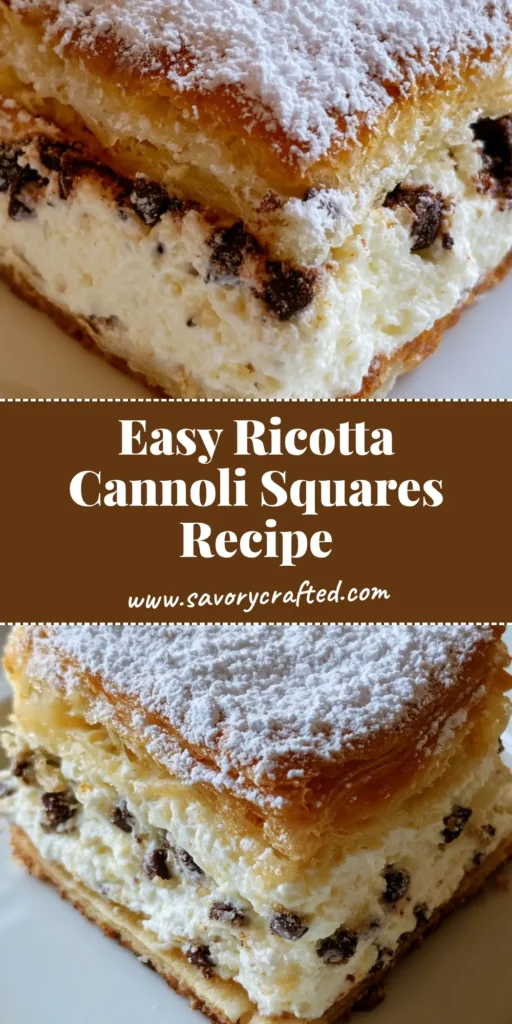
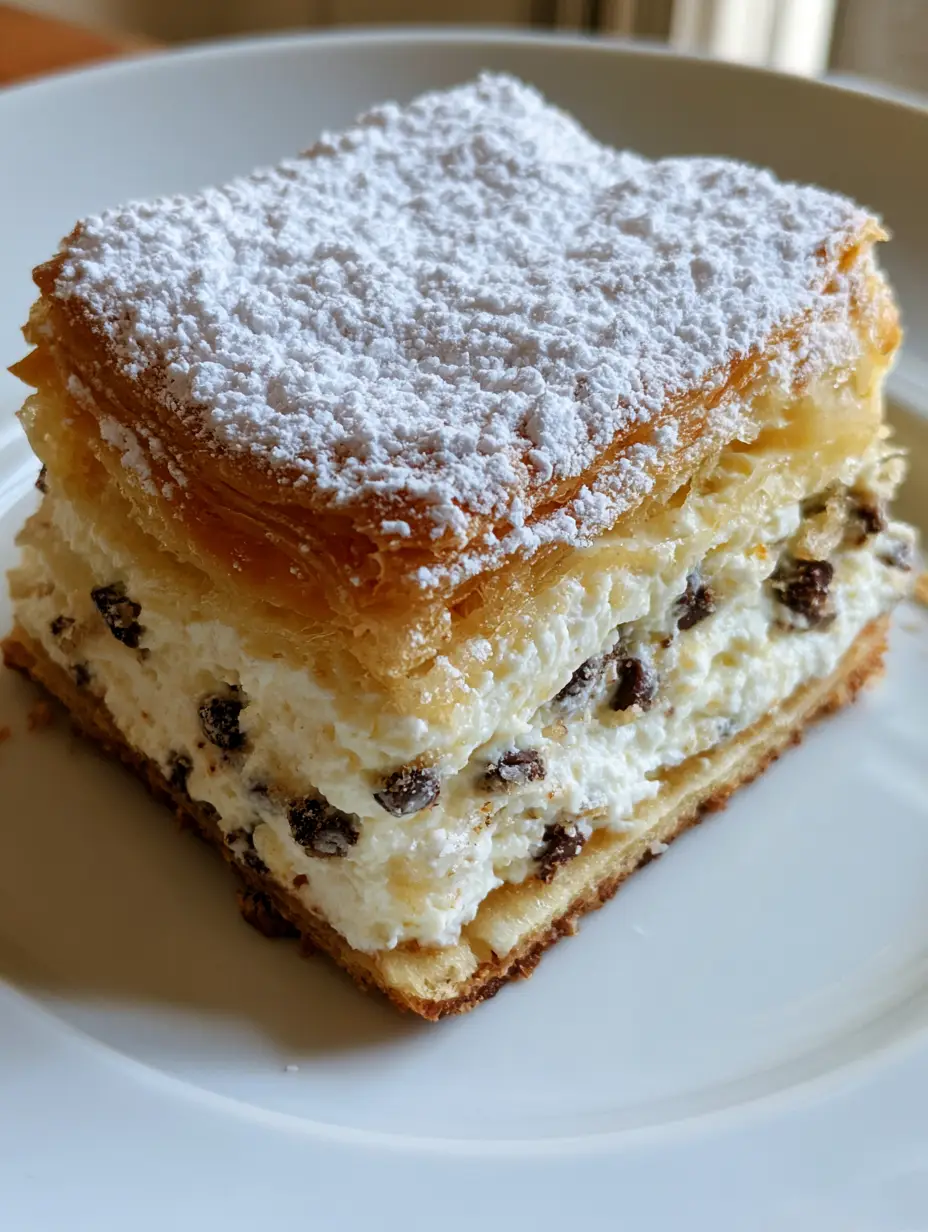
Ricotta Cannoli Squares: The Ultimate Flaky Italian Dessert
Ingredients
Equipment
Method
- Preheat oven to 400°F (200°C). Roll out puff pastry sheets and place on parchment-lined baking sheets.
- Place another sheet of parchment over the pastry and top with a second baking sheet. Bake for 15-18 minutes until golden-brown and crisp.
- Whisk strained ricotta, mascarpone, powdered sugar, and vanilla until smooth. Fold in mini chocolate chips.
- Spread filling over one pastry sheet. Top with the second sheet. Refrigerate for at least 4 hours.
- Dust heavily with powdered sugar and slice into rectangular squares using a serrated knife.
Notes
Wait until the pastry is completely cold before assembling.
Save, Share, and Rate!
Did you love these Ricotta Cannoli Squares? We want to see your results! Snap a photo of your golden pastry and tag @savorycrafted on social media. If you found this guide helpful, please leave a 5-star rating in the recipe card above and save this pin to your favorite Pinterest board. Your engagement helps us keep the kitchen lights on!
Looking for more dessert inspiration? Check out our latest creations and join our community of enthusiastic home cooks!