Mastering the perfect Grilled Shrimp Skewers is a rite of passage for every home cook who loves outdoor dining. There is something undeniably primal and satisfying about the sizzle of seafood hitting a hot grate.
This recipe focuses on achieving that elusive balance of a deeply charred, smoky exterior while maintaining a plump, juicy center. We utilize a high-impact lemon garlic oil marinade that caramelizes beautifully under the flames.
Whether you are hosting a summer backyard bash or looking for a quick, high-protein weeknight dinner, these Grilled Shrimp Skewers deliver professional results with minimal effort. Let’s dive into the forensics of the perfect sear.
Why These Lemon Garlic Shrimp Skewers Stand Out
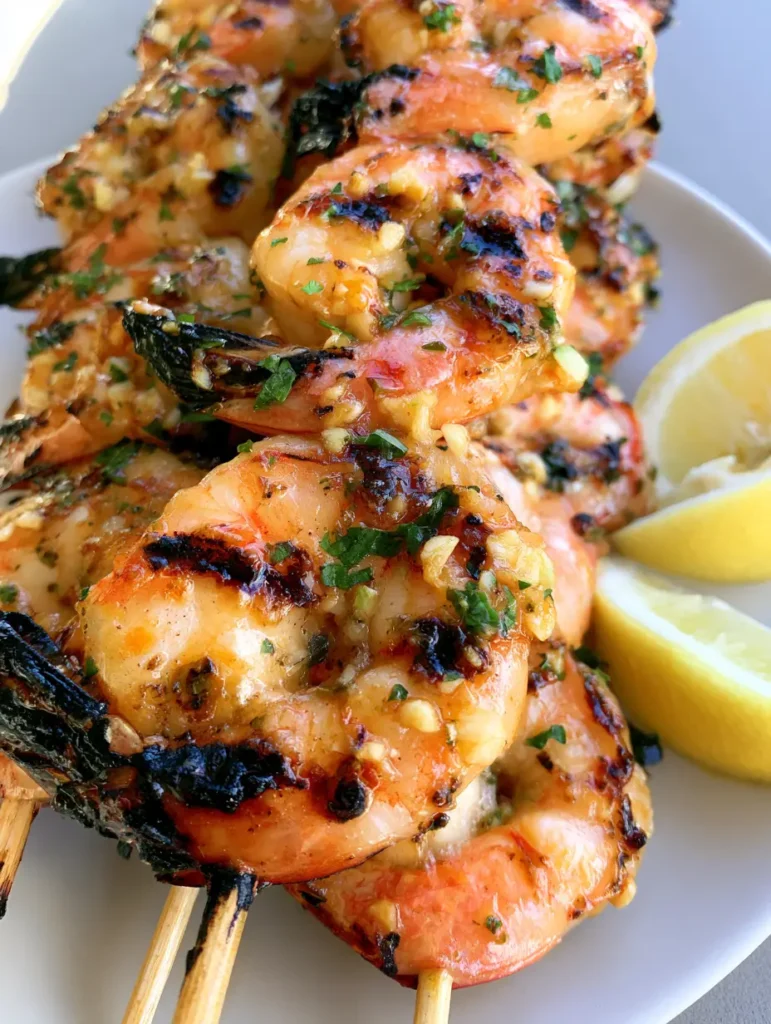
- Visual Perfection: We prioritize those distinct, dark char marks that signify a high-heat sear and immense flavor development.
- Textural Harmony: The contrast between the snap of the shrimp’s exterior and the buttery, tender interior is achieved through precise timing.
- Aromatic Depth: The inclusion of toasted minced garlic bits and fresh parsley flakes provides a sensory experience that starts before the first bite.
- Speed and Efficiency: From the marinade to the plate, this dish takes less than 30 minutes, making it a staple for busy schedules.
The Anatomy of Flavor: Essential Ingredients
Large Shrimp (1.5 lbs / 680g): We recommend 16/20 count shrimp for the best results. Large shrimp stay juicy longer on the grill and provide a more substantial surface area for charring.
Extra Virgin Olive Oil (1/4 cup / 60ml): This serves as our fat base. It carries the aromatics and prevents the delicate shrimp from sticking to the grill grates.
Fresh Garlic (4 cloves / 20g): Minced finely, these bits will cling to the shrimp. As they grill, they turn golden and crispy, creating a “garlic crust” effect.
Fresh Lemon Juice (2 tbsp / 30ml) & Wedges: The acidity brightens the heavy umami of the grill. Always reserve extra wedges for a final spritz of fresh citrus zest.
Flat-Leaf Parsley (1/4 cup / 15g): Finely chopped parsley adds a necessary herbaceous lift and a pop of bright green color against the pink and orange shrimp.
Kosher Salt and Coarse Black Pepper: Essential for drawing out the natural sweetness of the seafood and providing a savory backbone to the marinade.
Necessary Tools for Professional Grilling
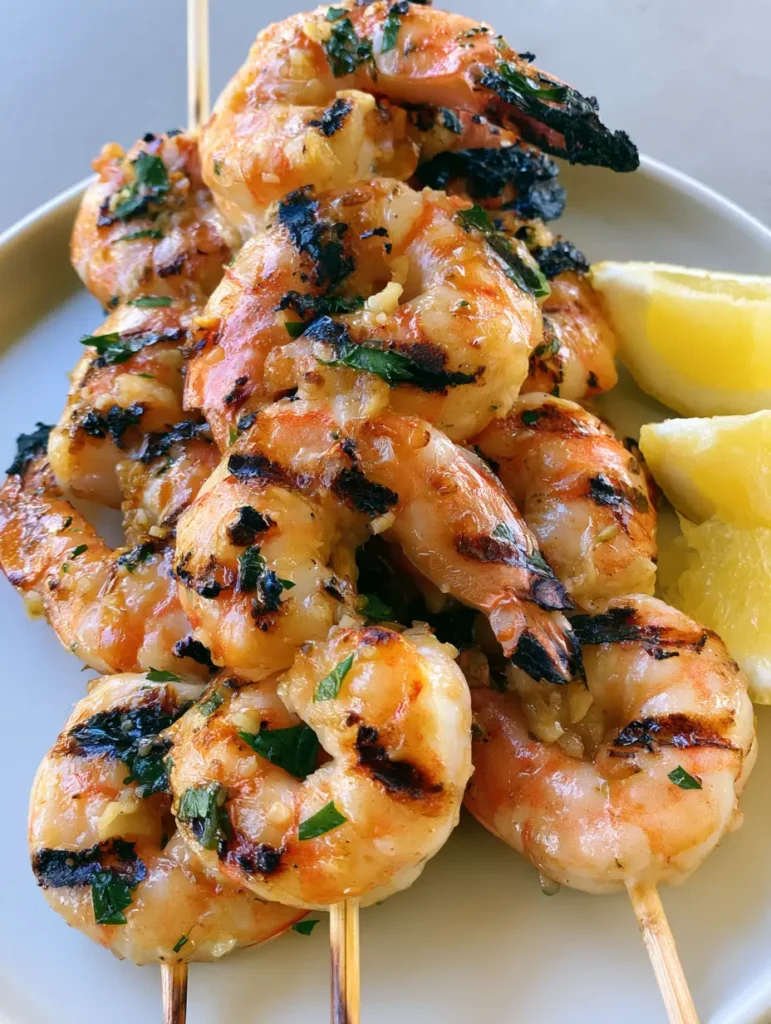
To achieve the look of the Grilled Shrimp Skewers seen in our visuals, you will need a few specific tools. High-quality wooden skewers are traditional, but they require a 30-minute soak in water to prevent them from incinerating on the grill.
A heavy-duty grill brush is also vital. A clean grate is the only way to ensure those sharp, defined grill marks without the shrimp tearing or sticking.
Finally, a pair of long-handled metal tongs will give you the control needed to flip the skewers quickly. Shrimp cook fast, and every second counts when you are chasing the perfect temperature.
The Blueprint for Succulent Grilled Shrimp
Step 1: Prep the Skewers and the Shrimp
If using wooden skewers, submerge them in cool water for at least 30 minutes. Peel and devein your shrimp, leaving the tails on for a more elegant visual presentation and a “handle” for eating.
Step 2: The Lemon Garlic Emulsion
In a medium bowl, whisk together the olive oil, minced garlic, lemon juice, salt, and pepper. Toss the shrimp in this mixture, ensuring every crevice is coated in garlic bits. Let it marinate for no more than 15 minutes; any longer and the acid will “cook” the shrimp.
Step 3: Threading for Success
Thread the shrimp onto the skewers, piercing them through the thickest part of the body and the tail. This “C-shape” threading ensures the shrimp stays secure and cooks evenly across the heat source.
Step 4: The High-Heat Sear
Preheat your grill to medium-high heat (approx. 400°F / 200°C). Place the skewers across the grates. Listen for a loud, immediate sizzle—this is the sound of the sugars in the marinade caramelizing against the metal.
Step 5: Monitoring the Cues
Grill for 2-3 minutes per side. Look for the shrimp to turn from translucent grey to an opaque, vibrant pink-orange. Flip only when the shrimp releases easily from the grate, revealing dark, well-defined char marks.
Step 6: The Final Flourish
Remove the skewers from the heat and immediately sprinkle with the freshly chopped parsley. The residual heat will wake up the oils in the herbs. Serve stacked on a light-colored plate with fresh lemon wedges on the side.
Expert Tips for the Perfect Char
- Pat the Shrimp Dry: Before marinating, pat the shrimp dry with paper towels. Excess moisture creates steam, which prevents the formation of those beautiful dark char marks.
- Don’t Overcrowd: Leave a small gap between each shrimp on the skewer. This allows the heat to circulate 360 degrees around the protein.
- The “Toughness” Test: Shrimp are done when they form a “C” shape. If they tightly curl into an “O,” they are overcooked and will be rubbery.
- Oil the Grates: Even with oil in the marinade, lightly wiping the grill grates with an oil-soaked paper towel ensures a non-stick experience.
What to Serve with Your Skewers
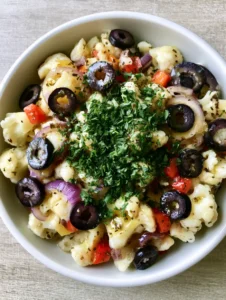
These Grilled Shrimp Skewers are incredibly versatile. For a light Mediterranean-style lunch, pair them with a refreshing mediterranean pasta salad or a zesty roasted vegetable orzo salad.
If you want to keep the grill theme going, they serve as a fantastic protein addition alongside grilled seafood skewers featuring scallops or salmon. For a more filling meal, serve them with a side of warm garlic naan bread recipe to soak up the leftover lemon-garlic oil.
For a unique fusion twist, try serving these shrimp inside tacos topped with a drizzle of creamy balsamic dressing for a tangy kick that complements the smoke.
Storage, Reheating, and Safety
Shrimp is best enjoyed immediately. However, you can store leftovers in an airtight container in the refrigerator for up to 2 days. To reheat, avoid the microwave, as it will turn the shrimp rubbery.
Instead, flash-sear them in a hot skillet with a teaspoon of butter for 60 seconds. This revives the garlic aromatics and maintains the texture. We do not recommend freezing cooked shrimp skewers, as the delicate cellular structure breaks down upon thawing.
Frequently Asked Questions
Yes, but ensure they are completely thawed and patted very dry with paper towels. Any excess moisture will prevent the shrimp from getting those signature dark grill marks.
Shrimp are done when they turn opaque and change from grey to a vibrant pinkish-orange. They should be firm to the touch and curled into a gentle ‘C’ shape.
You should soak wooden or bamboo skewers in water for at least 30 minutes. This hydrates the wood fibers and prevents them from catching fire or snapping over the high heat of the grill.
Leaving the tails on is recommended for skewers. It provides a natural handle for eating, prevents the shrimp from sliding off easily, and creates a more professional, high-end visual.
Rubbery shrimp is a result of overcooking. Shrimp only need 2-3 minutes per side. Remove them from the grill as soon as they lose their translucency to maintain a tender texture.
The Ultimate Grilled Shrimp Skewers Recipe
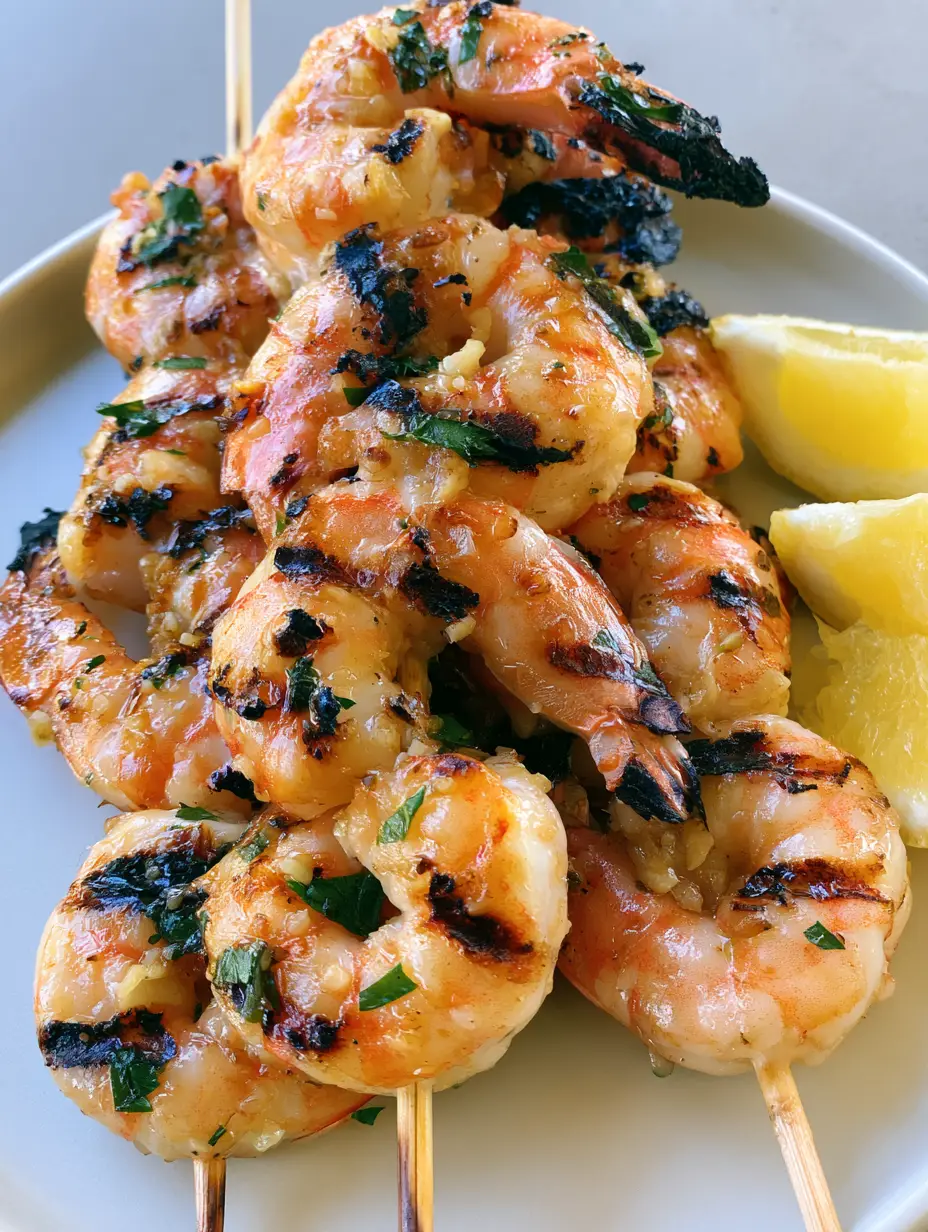
Grilled Shrimp Skewers with Lemon Garlic Oil and Fresh Parsley
Ingredients
Equipment
Method
- Submerge wooden skewers in water for at least 30 minutes to prevent burning.
- In a bowl, whisk olive oil, minced garlic, lemon juice, salt, and pepper until emulsified.
- Toss shrimp in the marinade for 15 minutes. Thread 4-5 shrimp onto each skewer in a 'C' shape.
- Place skewers on a preheated grill (400°F). Cook for 2-3 minutes per side until opaque and charred.
- Remove from heat, sprinkle with chopped parsley, and serve with fresh lemon wedges.
Notes
Always ensure the grill is fully preheated to achieve distinct grill marks.
Join the Savory Crafted Community!
These Grilled Shrimp Skewers are more than just a meal; they are a celebration of simple, high-quality ingredients handled with care. If you enjoyed this recipe, please leave a comment below and share your results!
Don’t forget to follow us on Pinterest for more culinary inspiration and visual recipe guides. Sign up for our newsletter to get elite recipes delivered straight to your inbox every week.